


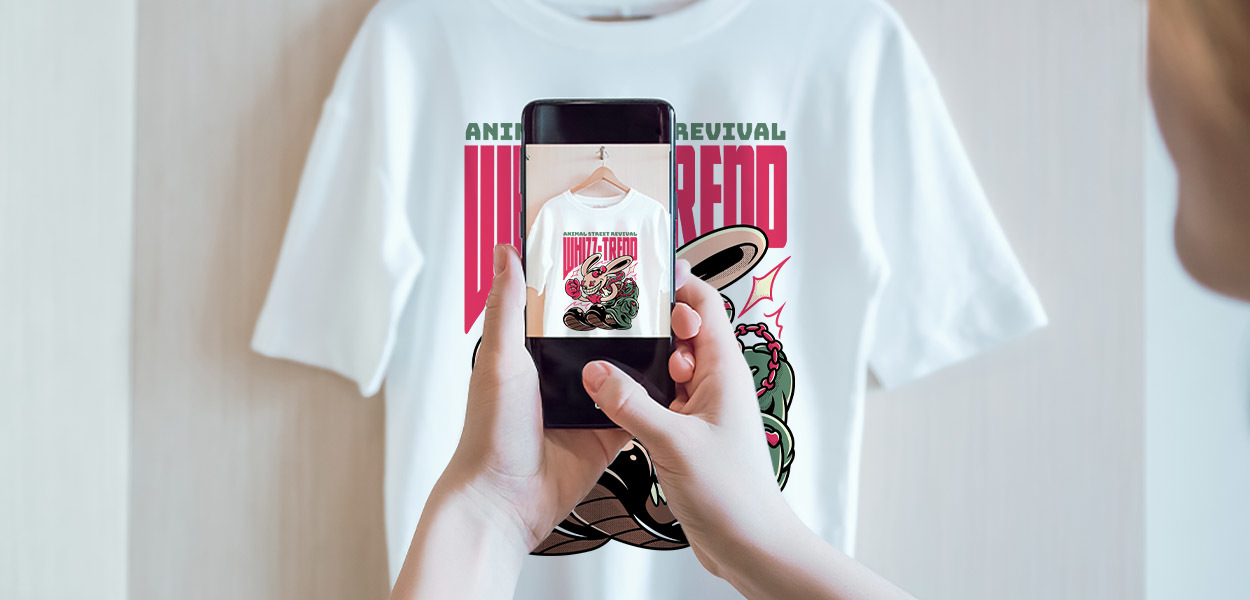
How to Prepare Artwork for DTF Printing
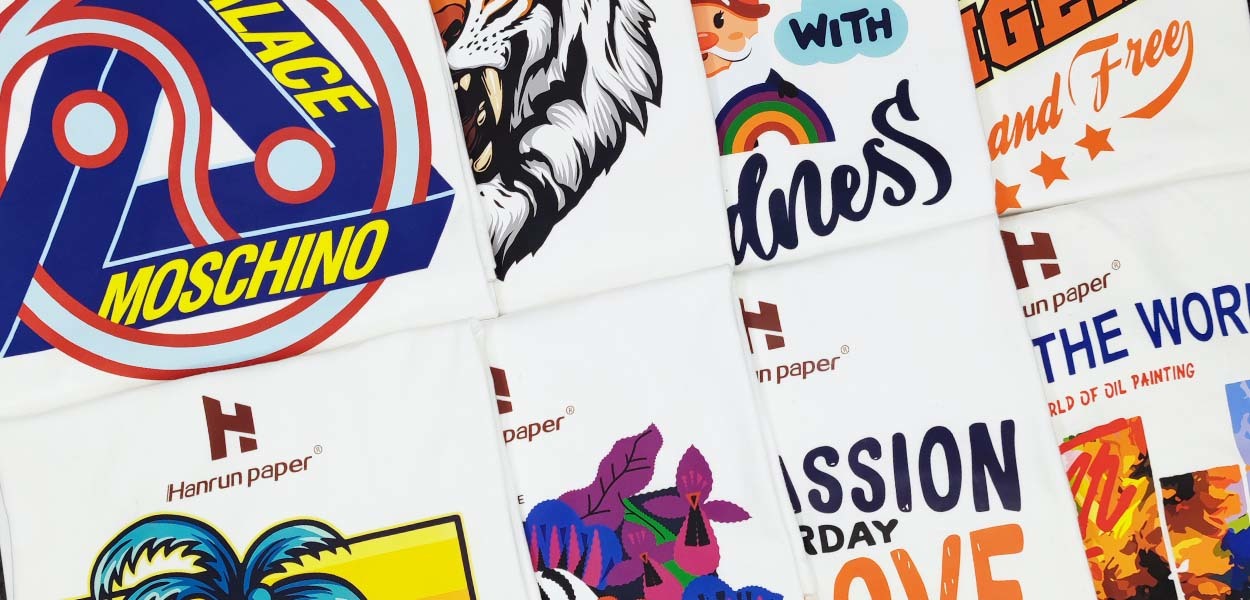
In the rapidly growing digital textile printing industry, DTF (Direct-to-Film) printing has emerged as a key technology in the field of custom apparel decoration, thanks to its vibrant colors, broad fabric compatibility, and ease of operation. For printing service providers who strive for high-quality output, every step — from artwork preparation to equipment matching, material selection, and post-print care — directly impacts the success of the final product.
This article provides a comprehensive overview of common design mistakes in DTF printing, key design principles, a complete production process, and care guidelines to help you improve print quality and streamline your workflow.
Design Mistakes to Avoid in DTF Printing
Although DTF technology supports full-color printing, not all designs are suitable for successful transfer. The following types of artwork are common causes of quality issues in finished products:
1. Tiny dots, thin lines, and gradients
DTF printing requires a layer of hot melt powder to be applied to the back of the design. Small and thin elements lack sufficient bonding surface, making them prone to peeling after transfer. Gradients made up of tiny dots may result in rough edges and patchy images due to insufficient ink density.
2. Semi-transparent artwork
DTF printing does not support transparency or low-opacity elements. These areas either won't appear at all or will display inconsistent colors in the final print. It's best to avoid using such elements entirely.
3. Large solid color blocks
When the design contains large solid areas — especially on lightweight fabric — the finished print may have a "plastic feel" and reduced breathability, which affects both comfort and appearance.
4. Black designs on black fabric
Black-on-black prints often appear faded or unclear and can easily "disappear" on dark garments. When printing on dark fabrics, it's recommended to use a white ink underbase and adjust the color contrast to enhance visibility.

Best Practices for DTF Design File Preparation
To achieve high-quality DTF print results, adhere to the following design specifications:
Image resolution
Use high-resolution images between 150–300 DPI. PNG and JPEG are preferred for raster images. For vector elements such as logos, use SVG or AI formats to prevent blurriness. Simply enlarging a low-resolution image does not increase its quality — a pixelated image will remain pixelated when scaled.
Color profile
Design your artwork using the sRGB IEC61966-2.1 color profile to minimize color discrepancies and ensure the printed colors closely match your screen. For complex images, export using CMYK mode to maintain transfer accuracy.
Transparent area management
Leaving transparent gaps in the artwork can reduce film thickness, making the print more flexible and breathable while minimizing material waste.
Avoid soft edges
Blurry or soft-edged elements may suffer from poor ink adhesion, resulting in jagged or broken lines. Sharp, well-defined edges are recommended for better overall print quality.
The 7-Step Workflow for High-Quality DTF Printing
To produce professional-quality DTF transfers, good design must be supported by a well-managed production process. Here's the standard DTF workflow:
Step 1: Prepare a high-resolution design file
Ensure the artwork is in high resolution (ideally 300 DPI). Text and logos should be in vector format, and CMYK color mode should be used to match printer output settings.
Step 2: Configure RIP software
RIP software bridges your artwork and the printer. Proper configuration of color management, white ink layering, and ink volume control is essential for accurate print results.
Step 3: Choose high-quality DTF ink, transfer film, and hot melt powder
The DTF film should offer strong ink absorption and fast drying. The adhesive powder must melt evenly and provide excellent bonding. Low-quality consumables can result in blurred images, flaking powder, or uneven prints.
Step 4: Maintain equipment and calibrate printheads
Regularly check nozzles and calibrate printheads. Ensure smooth white ink circulation to prevent clogging, banding, or line breaks.
Step 5: Test print and adjust settings
Always run a test print before mass production. Check for alignment, clarity, and color saturation. Fine-tune print mode or DPI as needed based on the test output.
Step 6: Heat press transfer
Set appropriate temperature, pressure, and time according to the fabric type. A pre-press is recommended to remove moisture and wrinkles, improving adhesion.
Step 7: Quality inspection and packaging
After transfer, inspect the print for clean edges, powder loss, misalignment, or color shifts. Only package and ship once quality is confirmed, which enhances brand professionalism and customer satisfaction.
Care Tips: How to Extend the Life of DTF-Printed Garments
Even with top-quality equipment and consumables, improper garment use or washing can lead to cracking or peeling of the print. Here are the recommended DTF care instructions:
- Wash with cold or lukewarm water to avoid ink damage from hot water
- Do not use harsh detergents or bleach
- Iron garments inside out to prevent direct heat contact with the print
- Hang dry and avoid prolonged exposure to direct sunlight
Conclusion
DTF printing is a sophisticated process requiring precise coordination between design, equipment, materials, and post-print care. Any mistake in one link can compromise the final result. As a professional DTF printing solution provider, Hanrun Paper is committed to offering systematic, standardized, and ready-to-implement solutions. We help apparel decorators and print shops handle orders efficiently and consistently deliver high-quality results.
If you would like to learn more about DTF printers, inks, films, or our complete DTF printing solutions, feel free to contact us for personalized expert support.
Contact Us
Global sales e-mail: info@hanrunpaper.com
Global sales WhatsApp: 86 189 3686 5061
Address: No.10 building, Baijiahui Innovation Community, 699-18 Xuanwu Avenue, Nanjing, China
Need Local Support? Find a Certified Hanrun Paper Dealer in Your Area.


Transfer To Digital, Transfer To Future
Hanrunpaper
Customers From
Countries
Contact us

Address:No.10 building, Baijiahui Creative Community, 699-18 Xuanwu Avenue, Nanjing, China


