What Is RIP Software and Why It Matters in DTF Printing
In the fast-paced custom apparel and textile‐printing industry, the difference between ordinary and outstanding print quality often comes down to one critical piece of software: the Raster Image Processor (RIP) software. Whether you're running a thriving shop or just beginning your journey with DTF printing, understanding RIP software is essential to achieving color accuracy, consistent output, and a well-oiled print workflow.
What Is RIP Software?
Simply put, RIP software is the translation engine between your design files—such as PNG, PSD, or AI—and your DTF printer. It converts graphic files into the language the machine can understand: where to place each dot, how much white ink to deploy, and how layers should be managed.
Without RIP software, your DTF printer is essentially flying blind.
Why RIP Software Matters for DTF Printing
DTF (Direct-to-Film) relies on a specific process: you lay down a white ink base, apply full-color inks on top, then transfer to fabric. That workflow introduces unique demands:
- White ink control – A well-formed white underbase ensures vibrant colors on dark garments.
- Color matching – RIP software uses ICC profiles to align what you see on screen with the finished print output.
- Efficiency & cost control – Proper dot-generation and smart nesting reduce ink waste, cut material costs, and speed up throughput.
- Workflow management – RIP enables batching, queuing, and automated layouts — vital when you scale.
Skipping or under-investing in RIP software can lead to mis‐colored prints, wasted ink and film, and frustrated customers. On the flip side, a strong RIP solution elevates your output from “good enough” to professional standard.
Key Features of a Quality RIP Software for DTF Printing
When selecting RIP software for your DTF printer, keep an eye out for these must-have capabilities:
1. White Underbase/White Ink Layer Control
RIP software allows you to adjust how white ink is laid down—its density, coverage area, and interaction with the color layers above. For dark garments especially, getting this right is crucial.
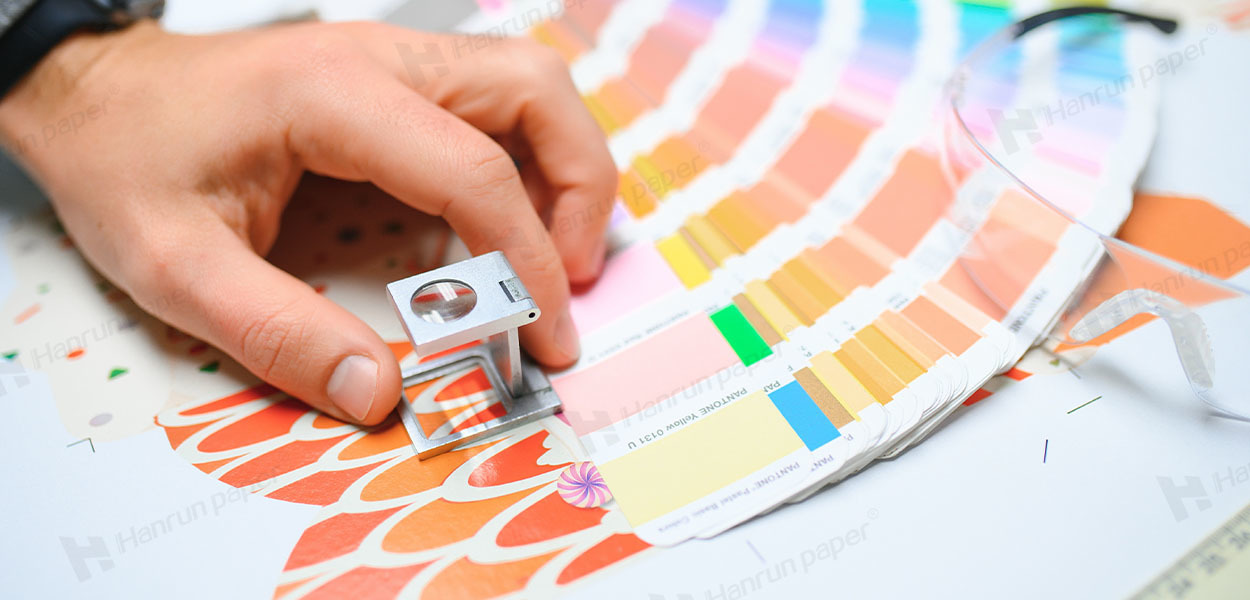
2. ICC Colour Profiling & Calibration
From monitor to print to fabric, the goal is that your graphic stays true to brand colors and design intent. With built-in ICC colour management, the RIP ensures what you see is what you'll get.
3. Nesting & Layout Tools
Efficient use of film or substrate matters. A good RIP offers automatic layout optimization and gang-sheet features so you waste less material.
4. Print Queue & Workflow Management
As demand grows, so does complexity. RIP software enables you to manage jobs, reorder priorities, duplicate queues for repeat work, and monitor ink usage metrics.
5. Preview & Simulation
Before spending ink and film, you can preview the RIP output—including underbase, colour separation, and halftone distribution—to catch issues earlier.
6. Multi-Printer Support
If you have more than one DTF printer in your facility, look for RIP software that lets you manage multiple ports or devices from one hub.
7. Automation Tools
Advanced RIPs enable batch processing, custom actions (e.g., add cut lines, apply serial numbering, prepare variable data), and file archiving, freeing up your team for more creative work.
Advanced Features of RIP Software
To appreciate why RIP software is so important, it helps to understand its role in the workflow:
- Rasterization – The RIP converts your vector or raster artwork into a grid of dots that the printer can output.
- Dot placement & halftoning – The software determines dot size, spacing and pattern (the halftone) to reproduce smooth gradients and sharp detail.
- Underbase generation – For DTF, the RIP analyzes areas that require white ink and creates a separate “underbase” layer to ensure color vibrancy on dark fabrics.
- Color management – Using ICC profiles, the RIP maps your file's color space into the specific gamut of your printer-ink-film-fabric chain.
- Ink usage optimization – Modern RIPs include “ink saver” modes, which reduce unnecessary ink volume without compromising print quality.
- Queueing & job prep – You'll often drop files into a hot-folder, the RIP auto-processes them (resize, layout, nest, add cut marks) and routes to the printer when ready.
Installing & Using RIP Software: A Practical Guide
Step 1: Choose the Right Software
Check compatibility with your printer, operating system (Windows, macOS), and whether you'll benefit from advanced features (white ink control, multi-printer support, automation).
Also consider your budget: entry-level RIPs may cost a few hundred dollars, while full-featured solutions run higher.
Step 2: Install & Configure
- Download or install the software from a trusted vendor.
- Import the ICC profile supplied by your printer or film manufacturer.
- Set your resolution (DPI), white underbase settings, and output size matching your film and printer specification.
- Connect the printer driver and verify the correct port / device is selected.
Step 3: Create a Test Print
Run a small sample print to verify colour, underbase behaviour, and film alignment. Use a spectrophotometer if you have one to validate the colour match.
Step 4: Save Presets
Once you find settings that deliver consistent quality, save them as presets—this reduces setup time and variability for repeat orders.
Step 5: Monitor & Optimise
- Track ink usage and waste film.
- Review prints for issues (colour shift, banding, white base gaps).
- Tweak halftone settings, underbase opacity, or nesting parameters as needed.
Common Issues & How to Troubleshoot
| Problem | Cause | Solution |
| Colour doesn't match screen | Incorrect ICC profile or monitor calibration | Reload correct profile, calibrate monitor/output chain |
| White base is too heavy/light | Underbase settings mis-configured | Adjust opacity and coverage of white layer |
| Banding or stripes in gradients | Halftone / DPI setup or printhead alignment | Increase DPI, adjust halftone pattern, clean printhead |
| Ink wastage / slow drying | Excessive ink coverage | Use “ink-save” mode, optimize nesting/layout |
| Jobs piling up or mis-ordered | Workflow not organized | Use queue management features in RIP, set job priorities |
| Software crash / hangs | Low computer specs or very high-res files | Simplify file resolution, upgrade PC RAM/SSD |
Best Practices for DTF RIP Workflow
- Calibrate regularly – Ensure monitor, printer and film chain all aligned for colour consistency.
- Adapt to fabric – Use heavier white base on dark cotton; reduce white base for light-coloured polyester.
- Store presets – Save your best settings for repeat jobs and similar fabrics/designs.
- Keep software updated – Updates often include new drivers, color-profiles and bug fixes.
- Evaluate ROI – While RIP software is an investment, the savings from reduced waste, faster setup and better output can pay off quickly.
Choosing the Right RIP Software: Spotlight on Three Popular Options
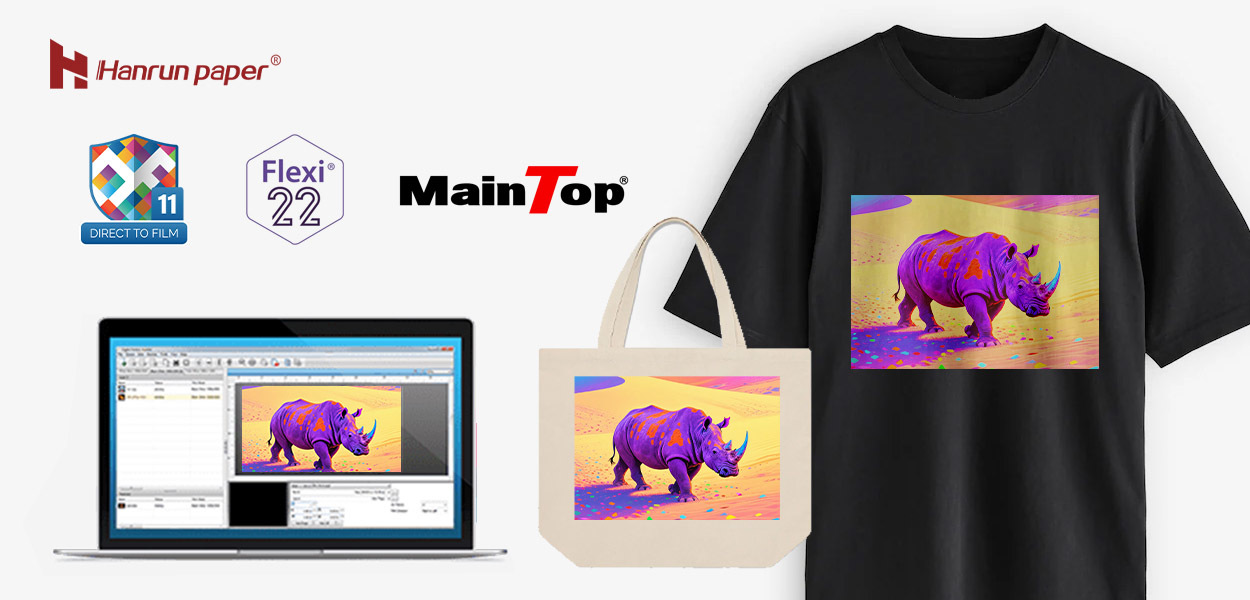
Hanrun Paper DTF printing solutions offer CADlink, FlexiPrint and Maintop 3 options. While all deliver essential RIP functionality, there are nuanced differences that may sway your decision.
1. CADlink
Designed for high-fidelity colour and large-format workflow, CADlink's Digital Factory features extensive automation tools, white-ink management, and broad printer compatibility. ([Fiery Specialty Production][1])
Ideal for shops running multiple DTF machines or requiring advanced nest/layout features and multi-printer queue management.
2. FlexiPrint
FlexiPrint offers a flexible and user-friendly interface, with strong white-ink support, DTF-specific modules and training resources.
This makes it a good pick for mid-sized operations looking for a balance of power and ease-of-use.
3. MainTop
Often bundled with entry-level DTF machines, MainTop provides the basics of RIP functionality — white-ink underbase control, output sizing, and job queueing.
It may lack the advanced automation of higher-end packages, but it still serves as a cost-effective entry point for new DTF users.
Wrap-Up: Why RIP Software is Non-Negotiable for DTF Success
If you view your DTF printer as the heavy-lifting engine, then RIP software is the brain directing every print job. It determines whether your design comes out sharp and vibrant—or dull and mis-aligned.
By choosing and mastering the right RIP software, you secure consistent colour accuracy, tighter workflow control, reduced waste, and greater return on your DTF investment.
Whether you opt for CADlink, FlexiPrint, MainTop—or another RIP package—make sure it aligns with your printer model, production volume, and long-term growth goals. Because when your software works seamlessly, your prints do too.
Ready to take your DTF output to the next level? Choose your RIP, calibrate your workflow, and watch your brand colors pop — every time.
Contact Us
Global sales e-mail: info@hanrunpaper.com
Global sales WhatsApp: 86 189 3686 5061
Address: No.10 building, Baijiahui Innovation Community, 699-18 Xuanwu Avenue, Nanjing, China
Need Local Support? Find a Certified Hanrun Paper Dealer in Your Area.
Transfer To Digital, Transfer To Future
Hanrunpaper
Contact us

Address:No.10 building, Baijiahui Creative Community, 699-18 Xuanwu Avenue, Nanjing, China


