


How to Create Designs on Wood with UV Printer
Wood, with its unique grain, warm tones, and lasting durability, is a favored medium for artistic creation. Today, advancements in technology have introduced UV printing, which offers new possibilities for personalizing wood decor, transforming each piece of wood into a one-of-a-kind work of art. This article will guide you through the process of using UV printing technology on wood, from preparing materials to the final product, allowing you to create your wooden masterpieces.

What is UV Printing?
UV printing is a printing technique that uses ultraviolet light to cure ink rapidly. Compared to traditional printing methods, UV printing offers vibrant colors, abrasion resistance, water resistance, high precision, and speed. It is widely used in advertising, packaging, decoration, and other fields. Applying UV printing to wood opens up new creative possibilities for wood decoration.
How to Create Designs on Wood Using a UV Printer
Preparation Stage:
1. Choose the Right Wood
Material Considerations: Select the type of wood based on your creative needs. Hardwoods like oak and walnut, with their dense texture and clear grain, are suitable for high-end furniture or decorative items. Softwoods like pine and cedar are lighter and better for small crafts or stationery.
Size and Shape: Ensure the wood’s size and shape meet your design requirements. For Direct-to-object UV printing, the wood's surface should be as smooth as possible, with minimal unevenness, to facilitate accurate printer head movement.
Quality Check: Inspect the wood surface for cracks, knots, and other defects. Choose high-quality wood for your project.
2. Prepare Tools and Materials
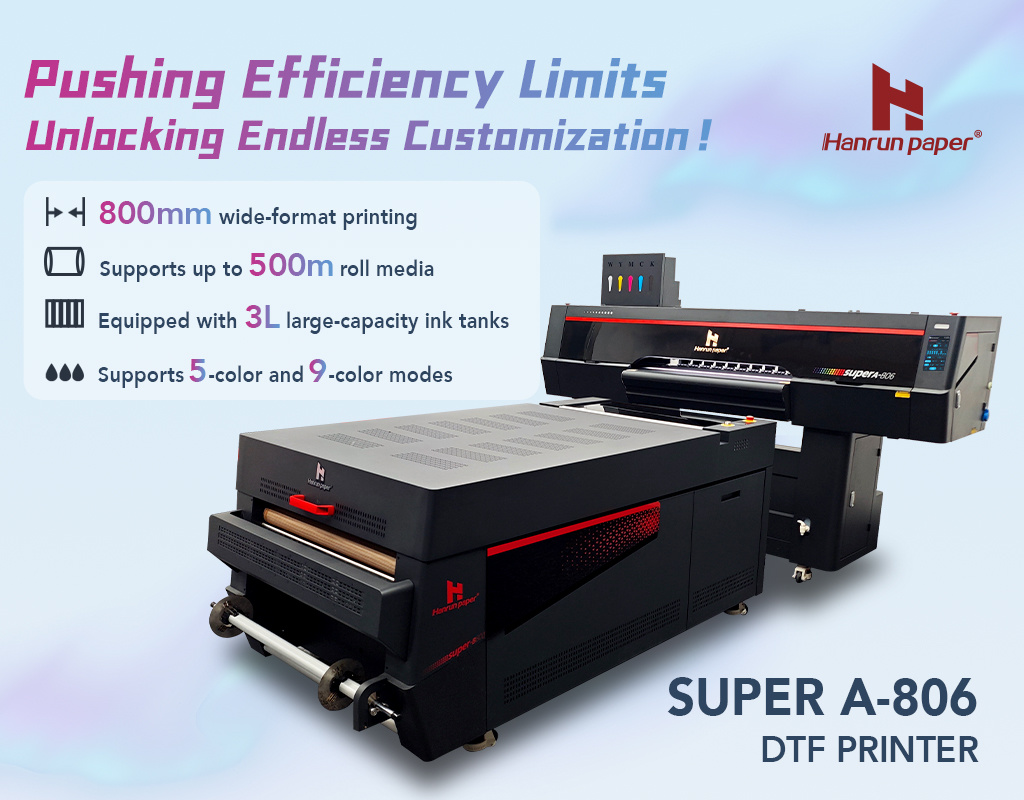
UV Printer: Select a UV printer with stable performance and high precision to ensure the desired printing results.
UV Ink: Choose the appropriate UV ink based on the printer model and wood type, ensuring vibrant color and durability.
UV DTF Film (Optional): If you want to make UV DTF stickers to transfer onto wood, prepare UV DTF film. If you are using the direct-to-object method, this is not necessary.
Auxiliary Tools: Include cleaning cloths, sandpaper, measuring tools, and gloves for cleaning, sanding, and measuring the wood.
Post-processing Materials (Optional): Such as wood wax oil, to enhance the durability, gloss, or texture of the final product.
Direct-to-Object UV Printing
1. Wood Pre-treatment
Clean the Surface: Use a cleaning cloth to wipe the wood surface, removing dust, grease, and other impurities to ensure a clean printing surface.
Sanding (Optional): For rough wood surfaces, lightly sand with sandpaper to make the surface smoother, which helps with ink adhesion and curing.
2. Design and Positioning
Design the Pattern: Create or select a design using design software. Add special effects like textures, gloss, or matte finishes. Ensure the pattern's resolution and color mode are compatible with the UV printer.
Visual Positioning: Place the wood on the UV printer’s print bed and use the printer’s visual positioning function to determine the wood's placement.
Adjust Design: Adjust the design’s position, size, and orientation in the software to ensure it matches the wood perfectly.
3. Start Printing
Set Printing Parameters: Configure the appropriate printing parameters based on the wood type, ink, and printer model, such as printing speed, ink volume, and UV lamp power.
Begin Printing: Once all settings are correct, start the printer. Monitor the printing process and quality, and adjust parameters as needed to ensure a high-quality print.

UV DTF Sticker Transfer
1. Design and Make the Stickers
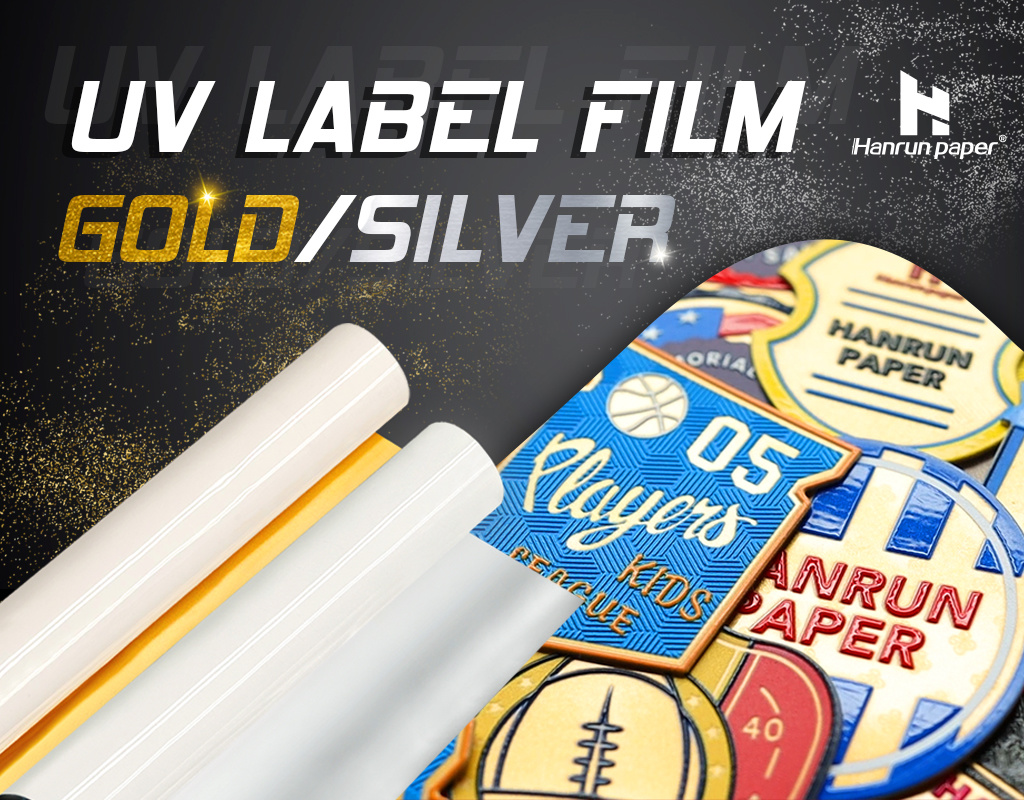
Design the Pattern: Create or select a design using design software, adjusting the size as needed. Consider adding special effects like holographic, foil stamping, or golden.
Make UV DTF Stickers: Import the design into the UV printer and print on the UV DTF film. UV DTF film offers excellent adhesion and flexibility, making it suitable for curved surfaces with soft UV inks.
2. Sticker Application
Clean the Wood Surface: Clean the wood surface thoroughly to remove dust and impurities to ensure the sticker adheres properly.
Cut the Sticker: Cut the UV DTF sticker to match the size and shape of the wood.
Position and Apply: Adjust the sticker’s position and direction according to the design. Use a squeegee or your fingers to press the sticker from one side to the other, avoiding air bubbles and ensuring a smooth application.

Creative Uses and Applications for Printed Wood
With UV printing technology, whether using Direct-to-Object or UV DTF Stickers, you can create vibrant and varied designs on wood. These personalized wooden items not only offer unique artistic value but also have a wide range of applications:
Personalized Gifts: Print photos, names, or messages on wooden items to create unique, heartfelt gifts. Such gifts are both thoughtful and practical, conveying your sentiments and care.
Home Decor: Use UV printing to create wooden wall art, picture frames, and hanging decorations, enhancing your home environment with unique, personalized decor that blends seamlessly with various interior styles.
Signage and Display Stands: In the commercial sector, UV printing offers an efficient solution for creating wooden signs and display stands. Printing logos, product information, or promotional messages can make these items stand out and boost brand visibility.
Holiday Decorations: Quickly and easily produce customized holiday decorations using UV printing. Whether it’s Christmas ornaments, New Year cards, or other themed decorations, UV printing can help create personalized items that add a special touch to holiday celebrations.

UV printing technology brings unprecedented innovation and transformation to wood decoration. Mastering this technique allows you to blend creativity with the natural beauty of wood, creating unique artworks and functional items. Whether you’re a professional designer or an enthusiastic hobbyist, UV printing on wood enables you to unleash your creativity and enjoy the satisfaction of your creations.
Contact Us
Global sales e-mail: info@hanrunpaper.com
Global sales WhatsApp: 86 189 3686 5061
Address: No.10 building, Baijiahui Innovation Community, 699-18 Xuanwu Avenue, Nanjing, China
Need Local Support? Find a Certified Hanrun Paper Dealer in Your Area.


Transfer To Digital, Transfer To Future
Hanrunpaper
Customers From
Countries
Contact us

Address:No.10 building, Baijiahui Creative Community, 699-18 Xuanwu Avenue, Nanjing, China


